How to teach area and perimeter in class 4 using notebooks, tiles and floor patterns
This practical guide shows how to teach area and perimeter in class 4 with square tiles, notebook grids, floor patterns and simple measuring tasks. You will be able to help your child see the space inside a shape, the distance around it, and practise both ideas with printable grid puzzles.
In short
- Area tells us how much space is covered inside a shape, while perimeter tells us the distance around its edge.
- Square tiles and notebook grids help children see why area is written in square units.
- A rectangle measuring 6 cm by 3 cm has an area of 18 square centimetres and a perimeter of 18 cm.
- Children should check their answers by counting squares, tracing edges or adding all the sides.
- A short home measuring task can connect classroom maths with books, tiles, placemats and cupboard doors.
Start with the space inside and the distance around
Begin with two objects your child can see and touch, such as a notebook cover and a floor tile. Ask, "How much space does the front of this notebook cover?" Then ask, "How much tape would go around its edge?" The first question leads to area. The second leads to perimeter.
Place the notebook on a sheet of paper and draw around it. Ask your child to shade the inside. This shows the area. Next, ask your child to trace the drawn boundary with a finger or pencil. This shows the perimeter. You can repeat the activity with a rectangle drawn on paper.
Explain that area measures the space covered inside a shape. It is counted in square units, such as square centimetres or square metres. Perimeter measures the total distance around the edge. It uses length units, such as centimetres or metres. Keep returning to the two actions: shade inside for area and trace around for perimeter. These actions give children a clear starting point before they meet rules or formulas.
Use square tiles and notebook grids
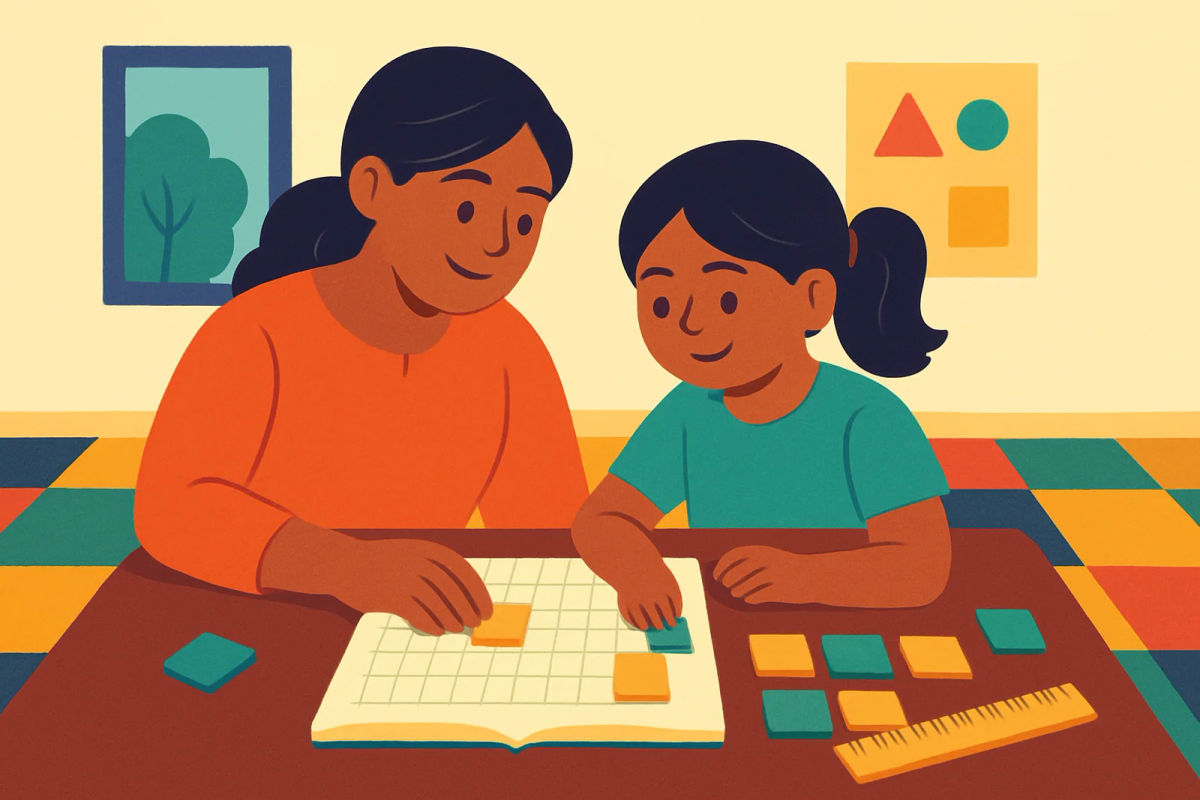
Square tiles make area visible. Place five tiles in one row, then build four equal rows. Ask your child to count the tiles in each row and the number of rows. There are 4 rows of 5 squares, so the area is 20 square units. The tiles cover the inside of the rectangle.
If you do not have square tiles, draw the same shape on a notebook grid. Shade four rows with five squares in each row. Your child can count all 20 squares, or multiply 4 by 5. Both methods describe the same area.
Now ask your child to count the outside edges of the grid shape. A 4 by 5 rectangle has 18 edge units around it. This is a different answer from the 20 squares inside. The inside count gives area. The edge count gives perimeter. Mark the inside squares with one colour and trace the outside boundary with another colour. You can use the Math Worksheet Generator to prepare extra number practice after the child understands the picture. Keep the grid work central rather than starting with a rule.
Teach a simple method for rectangles
Once children can count rows and columns, connect their counting to a rule. If a rectangle has 6 squares in each row and 3 rows, its area is 6 x 3, or 18 square units. For a measured rectangle, use the same idea with centimetres. A rectangle that is 6 cm long and 3 cm broad has an area of 6 x 3 = 18 square centimetres.
For perimeter, add all four sides: 6 cm + 3 cm + 6 cm + 3 cm = 18 cm. Since opposite sides of a rectangle are equal, this can also be written as 2 x (6 + 3) = 18 cm. Show both methods so your child can see where the shorter rule comes from.
Write the unit with every answer. Area is 18 square centimetres, written as 18 cm² when your child is ready for the symbol. Perimeter is 18 cm, not 18 square centimetres. Ask your child to draw the rectangle, label its length and breadth, and write one line for the area and one for the perimeter. This keeps the two measurements separate.

Lumi's tips
- Lumi suggests using two colours: one for the squares inside and one for the boundary around the shape.
- Keep a ruler, scrap paper and a pencil near your maths notebook for quick measuring practice.
- If a formula feels confusing, return to rows and columns for area and side addition for perimeter.
- Ask your child to explain one answer aloud before moving to the next puzzle.
Compare shapes made with the same area
Draw a 3 by 4 rectangle on a grid. It covers 12 squares. Next, make a different shape from 12 joined squares, such as a longer strip with a small block added at one end. Ask your child to count the inside squares first, then count the edge units. Both shapes have the same area, but their perimeters may be different.
A floor pattern or rangoli-style block pattern is useful here. Make one pattern as a compact rectangle and another as a stepped shape using the same number of square blocks. The blocks show the area. The outside outline shows the perimeter. A shape with more bumps or steps often has more boundary to trace, even when the number of inside squares stays the same.
Ask questions such as, "Which shape uses more floor space?" and "Which shape needs more border colour?" The first asks about area. The second asks about perimeter. Remind children that area is written in square units, such as square centimetres or square units. Perimeter uses ordinary length units, such as centimetres or metres. This comparison helps children see that the two measurements answer different questions.
Try a home measuring task
Ask your child to choose one rectangular object at home. A book, placemat, cupboard door or floor tile will work. Start with a smaller object if your child is learning to use a ruler. For a large object, an adult can help with a measuring tape.
Have your child measure the length and breadth in centimetres. The tape or ruler should stay straight and start at zero. Then record the work in a notebook using this pattern:
- Object: notebook cover
- Length: 24 cm
- Breadth: 18 cm
- Area: 24 x 18 = 432 square centimetres
- Perimeter: 24 + 18 + 24 + 18 = 84 cm
Your child can check the perimeter with 2 x (24 + 18). For a large cupboard door or part of the floor, use metres if that is more sensible, and write square metres for area. Stay beside your child near large furniture or when using a long tape. The aim is careful measuring, clear working and correct units, not simply getting a final number.
Use printable grid puzzles for practice
Printable grid puzzles give children a short, focused way to practise. Include questions where they count shaded squares, complete missing sides, trace perimeters and draw a shape with a given area. Beside the first few questions, show a small worked example. For instance, a 2 by 5 rectangle has 10 inside squares and a perimeter of 14 units.
An easier page can use whole-square rectangles with clear boundaries. A harder page can use irregular shapes made from joined squares. Children can count each shaded square for area and count each outside grid edge for perimeter. Ask them to explain how they checked the answer. They might say, "I counted 15 squares," or, "I added the top, bottom and side edges."
You can print activities from the free printables library and add your own grid questions in a notebook. A useful practice page might ask children to find three different shapes with an area of 12 square units. Leave room for drawings and working. Explanation matters as much as the final number because it shows which idea the child used.
Correct common mistakes and check understanding
Some children add only two sides when finding perimeter. Others count the corner points instead of the boundary units. Give the child a grid shape and ask them to trace every outside edge with a pencil. Then add the lengths of those edges. For area, ask them to cover the shape with square tiles or shade each inside square.
Check the unit in every answer. A child should write square centimetres or square units for area, and centimetres, metres or another suitable length unit for perimeter. If your child writes 20 cm for the number of squares, ask, "Are we measuring a line or covering a space?" Return to tiles for area and string, a finger trace or a pencil outline for perimeter when the rules become mixed up.
Use these quick exit questions at the end of a lesson:
- Which measurement tells us how much paper a shape covers?
- Which measurement tells us how much tape goes around it?
- What unit would you use for the area of a notebook cover?
- What unit would you use for the perimeter of a floor tile?
Listen to the explanation, not just the number. A correct answer with the wrong unit still needs checking.
Questions parents ask
What is the easiest way to explain the difference between area and perimeter to a Class 4 child?
Use a notebook cover or floor tile. Ask your child to shade the inside to show area, then trace around the edge to show perimeter. Say that area tells us how much space is covered, while perimeter tells us how far it is around the shape.
Should children learn the area and perimeter formulas before using tiles and grids?
It is usually clearer to begin with tiles, drawings or grids. Children can count rows and columns for area and trace or add edge lengths for perimeter. After that, the formulas show a shorter way to record the same thinking.
How can I teach area and perimeter at home without special maths equipment?
Use a notebook grid, squared paper or a rectangle drawn with a ruler. A book, placemat or floor tile can be measured with a ruler or tape. Your child can record the object, measurements, working and answers in a notebook.
Why does a shape with the same area sometimes have a different perimeter?
Area counts the square units inside a shape, while perimeter counts the boundary around it. Two shapes can contain the same number of squares but have different outlines. A stepped or stretched shape may have more edge units than a compact rectangle.
What should I do if my child keeps confusing square centimetres with centimetres?
Return to the meaning of each unit. Centimetres measure a line or distance, while square centimetres describe squares covering a surface. Ask your child to shade the inside for area and trace the edge for perimeter, then add the correct unit to each answer.