10 fine motor activities for preschoolers with playdough, paper and clips
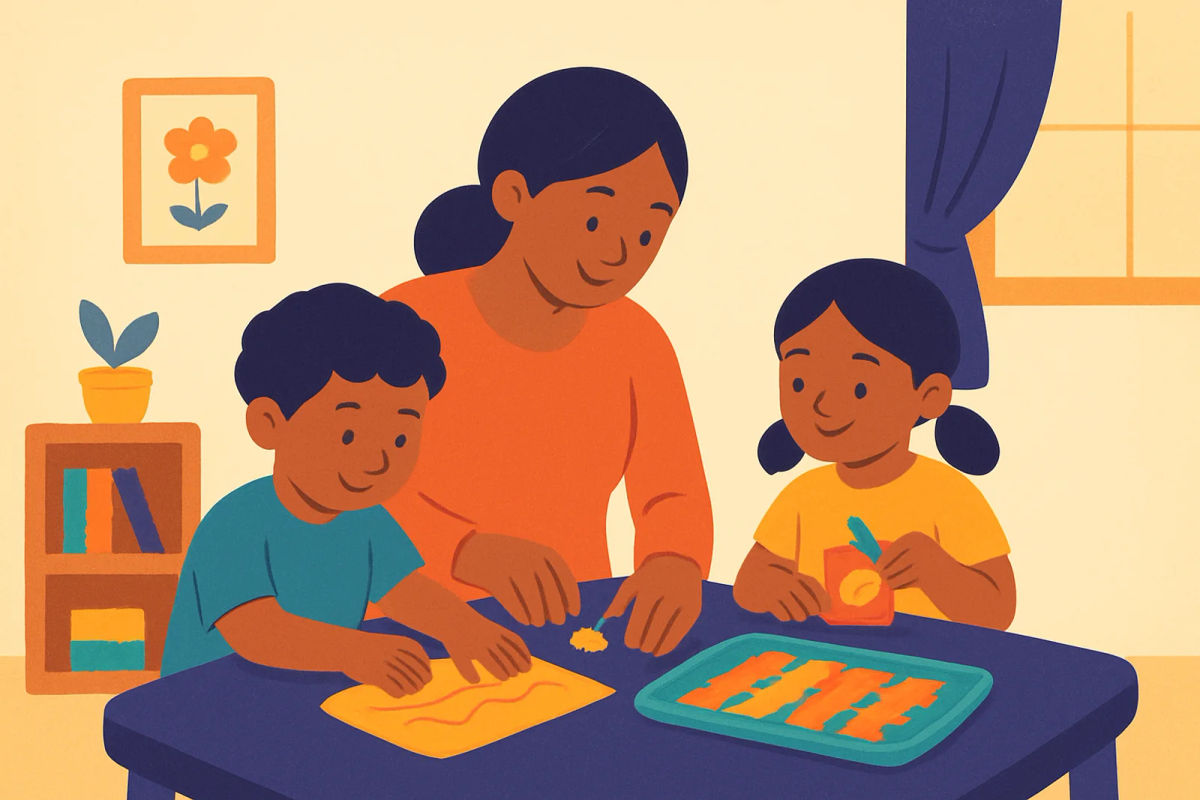
These fine motor activities for preschoolers use playdough, paper, clips and simple printable cards to give small hands useful practise. You will find short tasks for home or class, along with easier choices for children who tire quickly.
In short
- Squeezing, tearing, clipping, folding and threading give children useful small-hand practise.
- Use larger materials and more help for children aged 2 to 3.
- Keep each activity short and stop when your child shows tired hands or loses interest.
- Printable pattern cards can make playdough copying and clip matching easy to repeat.
- A comfortable table, simple instructions and room for mistakes help children take part happily.
What children practise with these activities
Small hand movements help children manage many everyday preschool tasks. Squeezing playdough, pinching its edges, tearing paper, threading yarn, clipping pegs and placing glue all ask the fingers and hands to work together. Children also practise looking closely, moving an object to a particular place and using both hands in one task.
These actions have simple links to daily life. A child may use similar movements when opening a lunch box, holding a crayon, turning pages, pulling up a zip or picking up small pieces of food. The activities are for practise, not a test of speed or neatness.
Children aged 2 to 3 may need larger paper pieces, chunky yarn, big pegs and an adult beside them. Children in LKG or UKG may manage smaller pieces, more steps and simple letter, number or pattern matching. Follow your child's comfort and hand strength rather than comparing them with another child.
What to prepare before you begin
Gather a small tray or mat, playdough, scrap paper, child-safe scissors, glue, crayons and pegs or large clips. Keep a few paper strips, drawn shapes and pieces of chunky yarn ready. A tray helps keep the materials in one place and makes tidying easier.
You can print pattern cards and activity outlines on A4 paper. Choose Actual size, or 100%, in the print settings so the cards keep their intended size. You can also copy a line, dot, spiral, flower or simple AB pattern by hand on paper. The free printables library is another place to find activities to print for home or your own classroom.
Stay close when children use clips, scissors or yarn. Choose large materials for younger children and keep every small piece away from the mouth. Check that playdough is suitable for your child and remind children that tools and craft materials are for the activity, not for tasting. Wash hands after the session, especially before eating.
Activities 1 to 3: clipping, tearing and pasting
1. Clip matching: Draw or print a row of coloured circles, letters or pictures on a paper strip. Give your child clips marked with the same colours or symbols. The child clips each one beside its match. For an easier start, use only two or three large colours and chunky pegs. Later, try capital letters, numbers or picture pairs.
2. Tear and fill: Draw a large mango, sun or balloon on paper. Ask your child to tear scrap paper into small pieces and place them over the shape. Tearing paper needs both hands to work together. Let the child use larger pieces if small tears are tiring.
3. Paste inside the outline: Put a small amount of glue in a dish or on a scrap of card. The child picks up the torn pieces and presses them inside the shape. Remind them to use a little glue and to leave the table free of loose glue. You can first make a collage with one colour, then try two colours or a simple colour pattern.
Lumi's tips
- Lumi's tip: Put just two or three materials on the tray so your child can begin without sorting a big pile.
- Lumi's tip: Draw the first example on scrap paper and let your child copy it in their own way.
- Lumi's tip: Keep a small box of saved paper strips for quick activities on busy afternoons.
- Lumi's tip: Praise the careful effort, such as a strong pinch or a slow fold, rather than the finished shape.
Activities 4 to 6: playdough squeezing, rolling and patterns
4. Squeeze and pinch: Give your child a small lump of playdough. Ask them to squeeze it into a ball, then make little pinches around the edge with their fingertips. They can turn the ball into a sun, flower or many-legged insect shape without needing a finished model.
5. Roll and build: Show your child how to roll playdough between both palms or on the mat to make a snake. Use short snakes to make a line, circle, spiral or flower. Thick pieces are easier to hold than thin ones, so start with a pencil-sized roll and make it thinner only if the child is comfortable.
6. Copy a pattern card: Prepare cards with lines, dots, spirals, flowers or simple AB patterns. The child copies each card with playdough. Begin with one large card and two or three steps. Use fewer pattern steps, larger cards and thicker playdough pieces for a child who tires quickly. You can draw the cards by hand or print a fresh set when you want a new challenge.
Activities 7 to 10: paper weaving, folding, threading and matching
7. Paper weaving: Cut wide strips and make a few wide slots in a sheet of paper. Show your child how to place one strip over and under the slots. An easier version uses only two or three slots and thicker strips. Leave the strip ends long enough for small hands to grip.
8. Fold on bold lines: Draw one straight line, such as a road or a house roof, with a thick crayon. Ask your child to fold along it and press the crease. Add a second line only when the first is manageable.
9. Thread paper shapes: Make large paper shapes with holes around the edge. The child pushes chunky yarn through the holes and pulls it out. Tape one yarn end to the back so it does not slip away.
10. Match clips to cards: Add a colour, letter, number or picture to each card. The child clips the matching mark onto the edge. Nursery children can match colours, while LKG children can match pictures or letters. UKG children can try numbers, simple words or AB patterns. For letter practise, you can make name strips with the Name Tracing Worksheet Maker and use large clips beside each letter.
How to make the activities comfortable and useful
Keep each task to about 5 to 10 minutes. Stop if your child shakes out their hands, rubs their fingers, avoids the material or loses interest. Offer a short break, a drink of water or a different activity instead of asking them to finish. Some children will enjoy repeating one task, while others will prefer a choice of two.
A free printable maker can help you prepare colour cards, shape outlines, clip strips and pattern cards for home or class use. Print on A4 paper at Actual size, or copy the same ideas by hand. In a classroom, place one tray at each table and let children work in small groups with an adult nearby.
Avoid paper that is so thin it tears before the child can use it. Do not give too many steps at once, and try not to correct every mark or crease. Place the activity on a table at a comfortable height. Let your child hold the paper with one hand and work with the other, or use both hands together when that feels easier. The aim is steady, willing participation, not a perfect product.
Questions parents ask
Which fine motor activities are suitable for a 3-year-old?
Start with squeezing playdough, tearing large pieces of paper, matching two or three colours with large pegs and placing torn paper inside a big outline. Give your child larger materials and help with scissors, glue and threading. Keep the task short and let the child stop when their hands seem tired.
How long should a preschool child practise fine motor activities?
About 5 to 10 minutes is a useful starting point for one activity. Some children will want to continue, while others may need to stop sooner. Watch for tired hands, frustration or lost interest, and offer a break rather than insisting on completion.
What can I use instead of pegs or clips for these activities?
Use large buttons, cardboard tabs, sticky notes or clothespins if they are safe and easy for your child to hold. Your child can also place bottle caps beside matching colours or pictures instead of clipping them. Choose materials that are large enough not to go into the mouth and supervise their use.
How can I make playdough activities easier for a child who gets tired quickly?
Give the child a small, soft piece of playdough and use thicker shapes that need less rolling. Choose a large pattern card with only two or three steps, and let the child copy one part at a time. A short session with a break is more helpful than asking the child to finish a long pattern.
Can I use these printable activities in a preschool classroom?
Yes. Print the cards and outlines on A4 paper at Actual size, then place them on trays for small groups or individual work. Use larger materials for Nursery and add letters, numbers or patterns for LKG and UKG. Supervise clips, scissors, yarn and other small materials, and keep the files for use in your own classroom.